Command Line Parameter
Boot parameter is a feature to pause /close the running aeroTAP by using external commands.
In Professional version, you can use auto features by setting command line parameters.
There are hints about how to configure aeroTAP Shortcut to avoid showing UAC dialog.
| Option |
Description |
| /A, /a | Turn aeroTAP to active from inactive and vice versa. The same feature performed with Ctrl+ Shift +'A' will be performed from an external command. aeroTAP.exe /A |
| /E, /e | Terminate the running aeroTAP. Terminates aeroTAP from an external command. aeroTAP.exe /E |
| /H, /h | Set aeroTAP evo process runs with High propriety. Use this option when aeroTAP evo lost real time processing. i.e. If an Unity application will block background process, use this option to prevent aeroTAP evo's real-time processing. aeroTAP.exe /H |
| /M, /m /MX, /mx |
Allow multiple aeroTAP to launch. Generally, you can only launch one aeroTAP for one camera. To launch aeroTAP and operate the same screen using 2 cameras, use the /M option. For Shared Mode: aeroTAP.exe /M For Exclusive Mode: aeroTAP.exe /MX Hint: aeroTAP hotkeys will be ignored for the slave aeroTAP launched with /M option. |
| /P, /p | Pause/Restart the running aeroTAP. The same feature performed with Ctrl+ Shift +'P' will be performed from an external command. aeroTAP.exe /P |
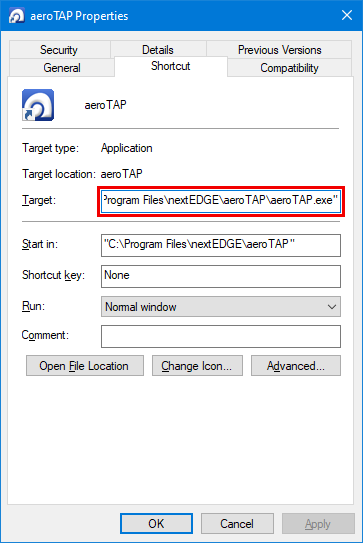
| /Automation | Boots with the last used settings,without displaying the preference screen on startup. (Professional version ONLY) aeroTAP.exe /Automation Example: Create a shortcut and add the shortcut file to Startup 1. Create shortcut and edit the property. 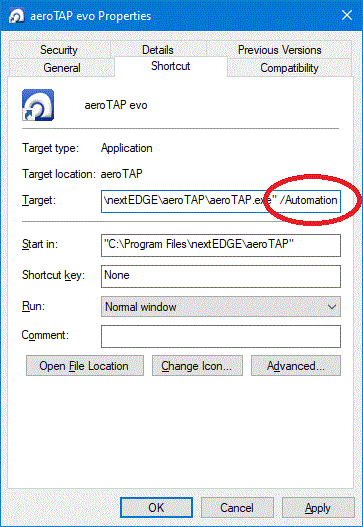 2. Execute the Run command (Win +R) and insert shell:startup 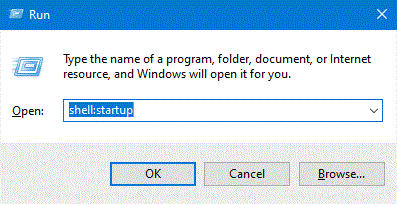 3. Open the Startup folder and copy the shortcut you created. Hint: When using auto startup, we recommend that you use the /w option too. Some devices including the USB devices may not be initialized at Windows startup. Use /w option to set the idle time Idle time set to 20 seconds: /Automation /W20 Please use the version without administration rights, aeroTAPna.exe. To set with administrative rights, go to Register aeroTAP evo with administrative rights to Startup. |
| /Standby | Launch with the last used settings, without aeroTAP 3D USB camera connected and without displaying the preference screen on startup. To use aeroTAP, all you have to do is to connect aeroTAP 3D USB camera. aeroTAP.exe /Standby |
| /Wxx | Command option to set the waiting interval at startup of aeroTAP. When you autostart aeroTAP using /Automation or /Standby at Windows startup, you need to wait until the device is ready to be used on the system. When /W10 is set, the interval will be 10 seconds. aeroTAP.exe /W10 /Automation |
| /Xxxxx /Yxxxx | For a multi-monitor environment, you can define which monitor aeroTAP will be launched on. (Only for Professional version) Usually it will be launched on the primary monitor. For example, you may put 2 Full HD monitors side-by-side and the left one is the primary monitor. To launch aeroTAP on the secondary monitor, define /X1980 (primary screen size, secondary screen starting X-coordinate). If the secondary monitor is above the primary monitor, define /Y-200 (values under0) for aeroTAP to launch on the secondary monitor. Important: If the defined monitor is not detected at the startup of aeroTAP, it will be launched on the primary monitor. If aeroTAP doesn't launch on the secondary monitor with auto startup, use /w option and adjust the idle time. Important: When the monitor for startup is defined using /x, /y option, you cannot switch monitors with aeroTAP operations. To define the monitor for startup with monitor switching enabled, use NoMonitorChange =2. |
| /Oleft,top,right,bottom | Restrict aeroTAP's touchless area. (Only for Professional version) left,top,right,bottom is the actual screen position in the target monitor screen. Define the top-left coordinate (left, top)and bottom-right coordinate (right, bottom) using /O option. '(' and the ')' will not be written in the actual definition. Touchless operation is only available in this area. The feedback screen will be displayed within the operation area. |
| /Rxx | Resets the aeroTAP USB camera connection before starting aeroTAP evo. The value set for xx, will be the number of retry attempts. It is set to 6 by default. Example: /r8 This can be used when initialization fails on auto start up using /Automation command. aeroTAP.exe /W10 /Automation /r Important: /r option is valid only when aeroTAP is running with administrative rights. /r option valid for 64bit OS will be 64bit version and for 32bit OS will be 32Bit version.
|
| /VVTmodeParam.txt | aeroTAP evo will load specified VT mode parameter file when starting. i.e. User can use this option when changing VT mode setting running with /Automation. aeroTAP.exe /VVTmodeParam.txt Important: The parameter will will be searched from aeroTAP.exe is located folder or C:\Program Data\aeroTAP folder.
|
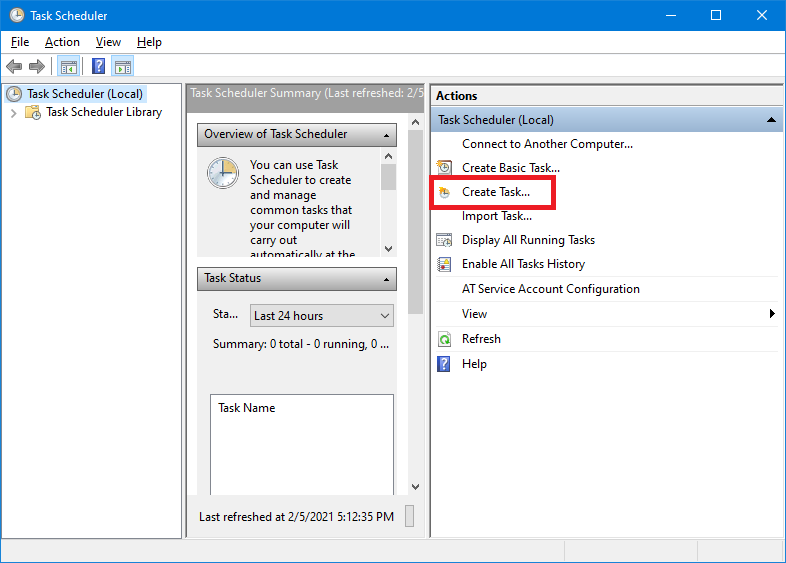
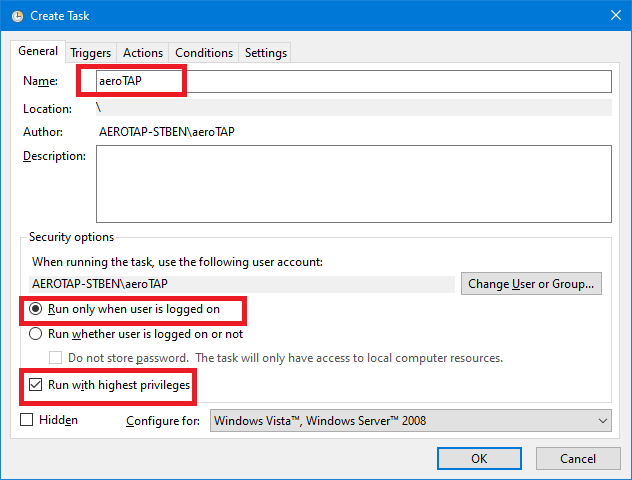
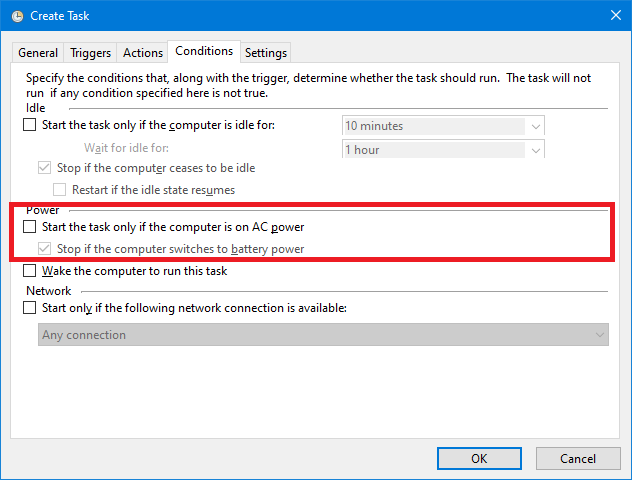
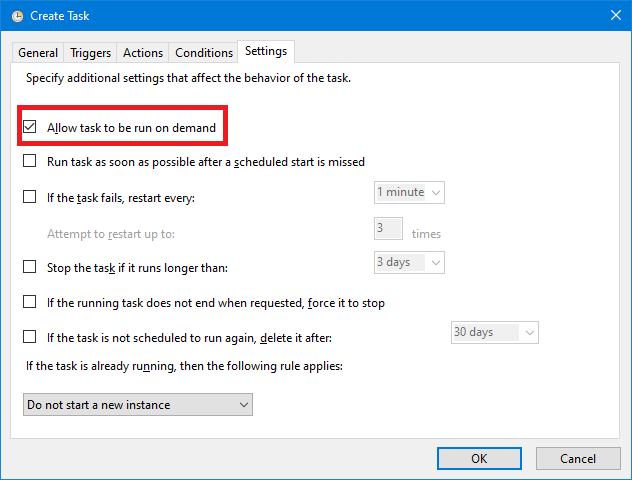
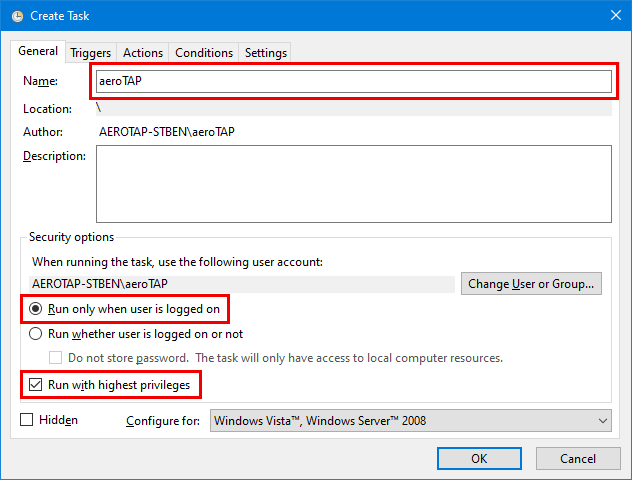
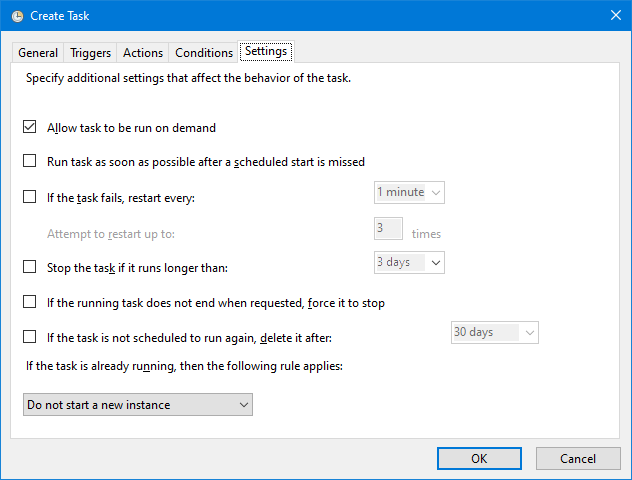
Hint: Administrative right is required to run aeroTAP.exe. To start aeroTAP on Windows startup using /Automation and /Standby option, register using Task Scheduler, not the Startup.
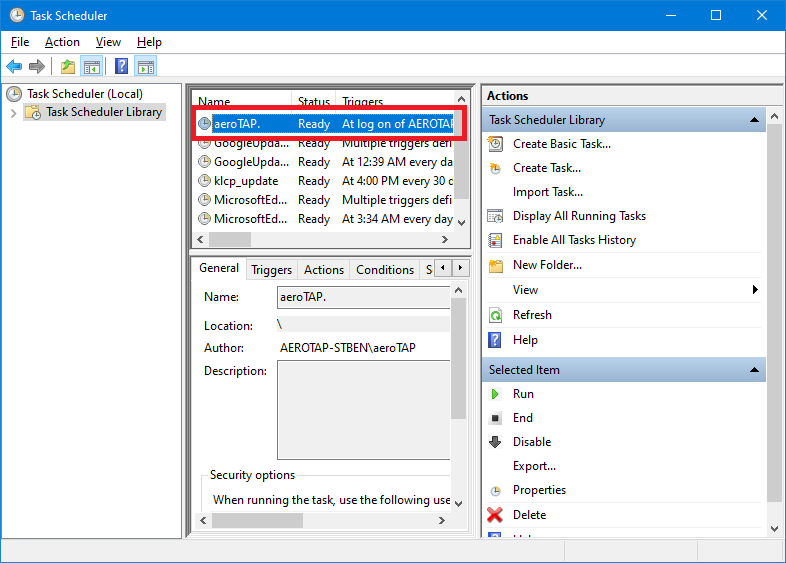
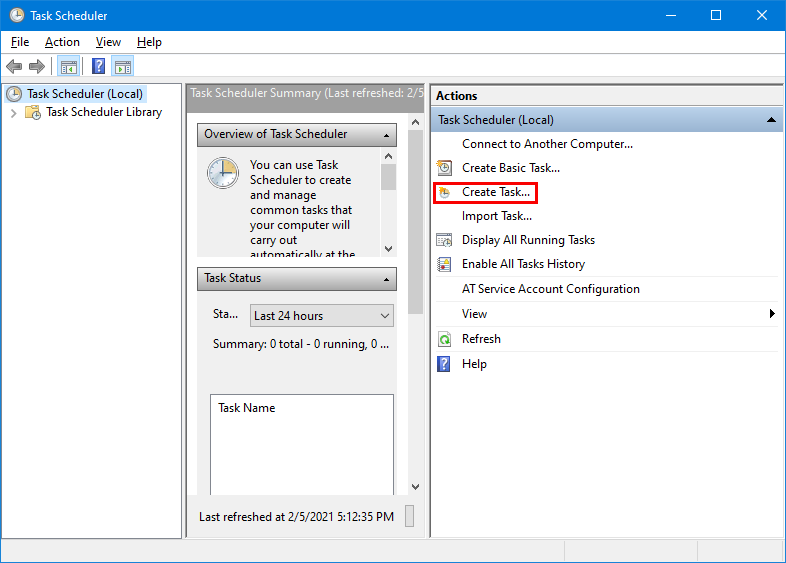
Register aeroTAP evo with administrative rights to Startup
Administrative right is required to run aeroTAP.exe.
The easy way to register (add) aeroTAP to startup as a auto startup is to use aeroTAPna.exe, which doesn't require administrative rights.
However, administrative right may be required to operate other applications that have administrative rights.
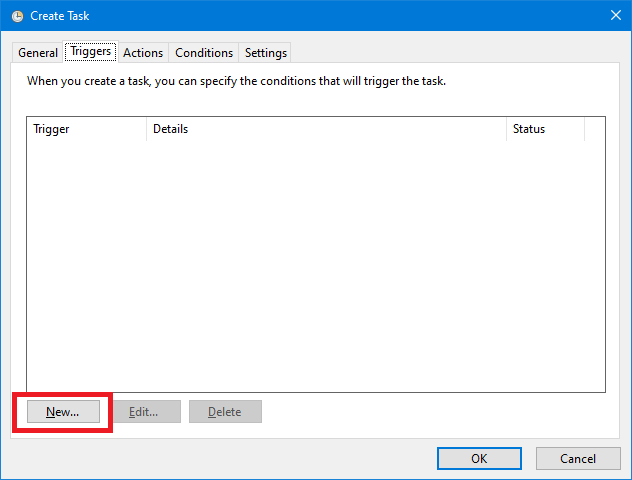
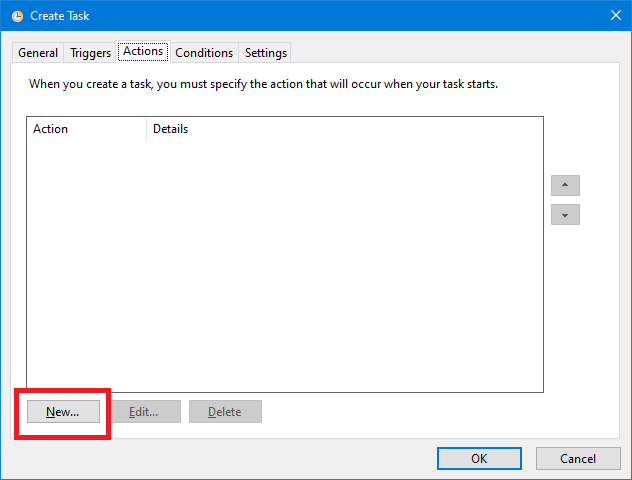
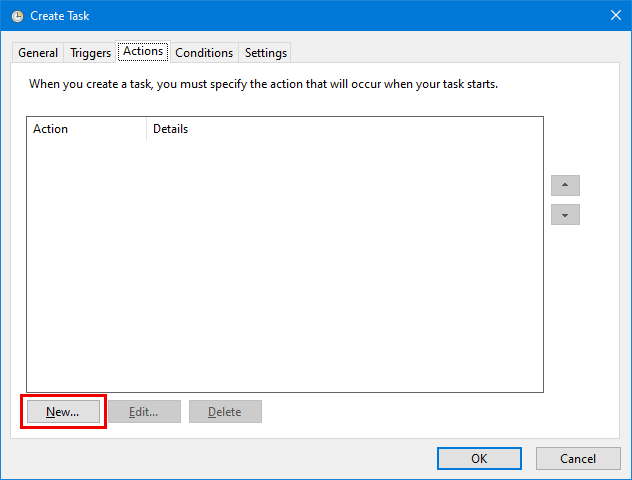
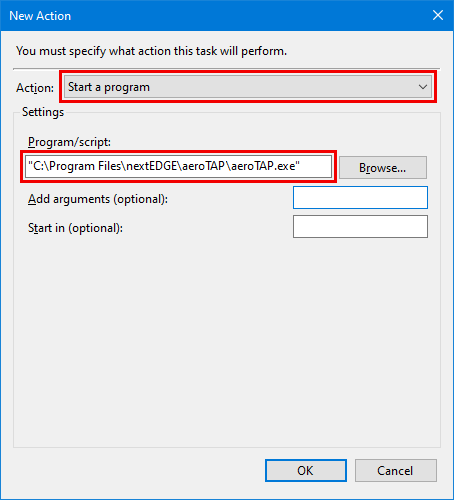
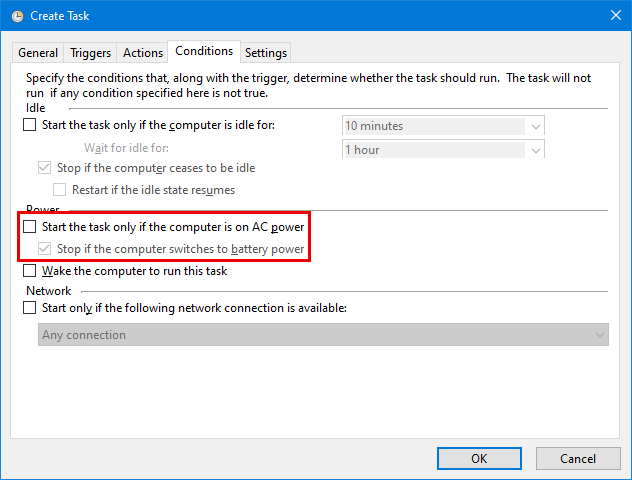
For those cases, you can register to Task Scheduler with the following steps.